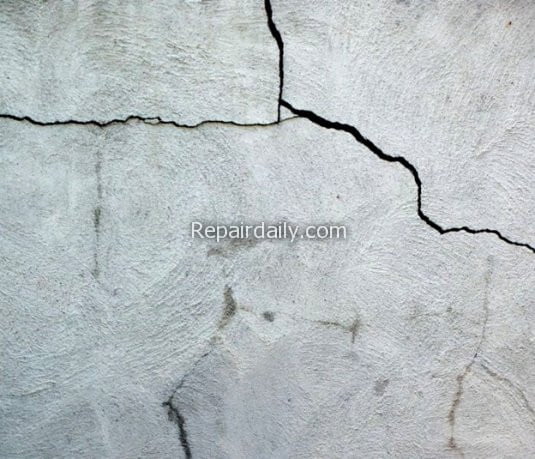
You’ve likely faced the frustration of dealing with cracks and other imperfections in your walls and ceilings. These issues detract from your space’s look and can become more significant problems if ignored.
In this guide, we’ll provide straightforward steps to address these cracks and imperfections, ensuring your residential or commercial property remains sturdy and visually appealing.

Identifying the Issue
Before starting repairs, pinpoint the root cause behind the cracks and flaws. They could result from the building’s settling, temperature and humidity changes, moisture damage from leaks or flooding, or poor construction practices. Understanding the source helps guide solutions that will permanently fix the problem.
Consulting Professionals
Seeking advice from a professional contractor or structural engineer is a smart move. They have the expertise to inspect the situation, determine why the cracks appeared, and recommend the best solutions. They might conduct inspections, tests, or examinations of the history of the building to gather the needed info for a solid assessment.
When interviewing potential contractors or engineers, ask about their experience with your type of building and repair issues. You may consider requesting references from previous clients with similar projects and determining if they have proper licensing. Established professionals with expertise specific to your building and situation are best equipped to provide accurate diagnostics and advice for repairs that stand the test of time.
Preparing the Area
Proper prep work is vital for successful crack and blemish repairs. First, clean the space, removing loose debris. Ensure the area is completely dry. Using a putty knife or scraper can gently clear away any flaking paint or plaster around the crack, creating an even surface.
Thorough preparation also involves protecting nearby surfaces. Lay down drop cloths or masking tape to prevent repair materials from getting on floors, furniture, or unrelated walls. For ceiling work, secure ladders safely and clear the area under the repair site. Good prep prevents making additional mess or damage, saving clean-up time later.
Choosing Suitable Materials
What you use to fix the damage depends on how bad it is and what type of surface you are dealing with—joint compounds or spackling paste work well for minor cracks or imperfections. You can easily apply them, dry quickly, and smooth them out. But think about using a patching compound or plaster for more severe damage like big cracks or holes. These materials provide more substantial and more lasting fixes.
Applying Repair Compound
Once you have selected the suitable material, it is time to apply it to the area. Follow the instructions on the product, as each one may have specific mixing ratios or techniques when applying the repair compound. Spread it over the crack or imperfection using a putty knife or trowel to raise it above the surrounding surface. Smooth out the excess material with the putty knife, blending the edges for a seamless look with the rest of the wall or ceiling.
Allowing Adequate Drying and Sanding
Let repair compounds fully cure before sanding. The drying duration could differ based on the product, making it essential to adhere to the manufacturer’s instructions. Once the material has dried, take a piece of fine-grit sandpaper and delicately smooth any rough edges or uneven surfaces.
This step is pivotal in achieving a polished and professional finish, ensuring the area is perfectly prepared for painting or wallpaper application. Taking the time to allow the repaired area to dry thoroughly and performing the sanding will yield a visually pleasing outcome worth the effort.
Matching Finishes
Consider applying a fresh coat of paint or wallpaper to the fixed area to wrap up the repair process. For a seamless blend, pick a color or pattern that matches the wall or ceiling. But here’s a thought: explore upgrades that can add even more strength and longevity.
For instance, access doors like the BA-MW Welded Aluminum Frame offer clever solutions that can complement your repairs. While not related to immediate fixes, these enhancements play a role in maintaining your ceiling’s quality over time, preventing potential imperfections by reinforcing its structural integrity.
Final Thoughts
This comprehensive guide arms you with the essential knowledge and step-by-step directions to tackle cracks and imperfections in your walls and ceilings. Here, you learned that diagnosing the root cause, consulting experts, using appropriate materials, and proper preparation and finishing ensure attractive, long-lasting repairs.
So why wait? Grab your tools and transform those imperfections into successes. Your walls and ceilings eagerly await your attention—and armed with this knowledge, you can confidently make them shine again.
