
How To Replace A Shower Head: If you want to replace your shower head because your current shower head is outdated, or you need to save water with a newer, low-flow model we are here to help you. Replace a shower head is the quickest, cheapest and easiest way to make a meaningful change in your bathroom. In addition by improving the shower room, you can save water and cut into your bills or make a style upgrade. By using a few materials and following some simple steps, you can change your shower head in just a couple of minutes. Today we will let you know how to replace a shower head step by step process?
How to replace a shower head step by step illustrated process
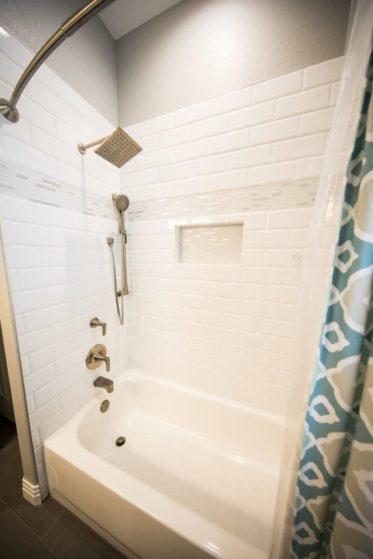
How To Replace A Shower Head
To replace a shower head the first thing you should to read the instructions that accompany your new shower head. Some shower heads need to be assembled, may contain a rubber washer or should be attached to an extension arm. The following are some simple steps to how to change a shower head easily.
Step 1: Prepare Your Work Area
Shower Drain
Place an old towel in the bottom of the tub to prevent the porcelain or fiberglass surface from being damaged while you work. The adapter kit comes with a diverter device that connects to the shower stem and can direct the water in either of two directions. This allows you to use two shower heads from a single water source.
Step 2: Arrange All the Necessary Materials
Classic Bathroom Furniture
In order to effectively replace your shower head, you will need a blanket or tarp, an adjustable wrench, a couple of slip-joint pliers, and a new shower head. It would also be beneficial to have Teflon tape. You can buy these materials at a home improvement supply store. This material is also available at your nearby hardware store.
Step 3: Turn off the Shower

Bathroom Products
Ensure the shower knobs are totally turned off and are secured tightly. This will prevent any water from leaking out as you work to change the shower head. Don’t worry about shutting off the water supply, this would require unnecessary effort.
Step 4: Remove the Old Shower Head
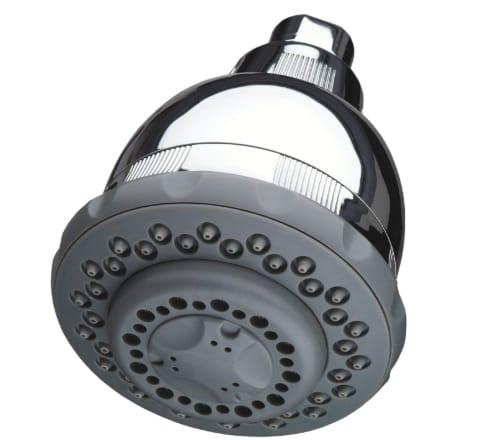
Culligan shower heads
First, try turning it counterclockwise a couple of times to check if you can remove it by hand; if it won’t move, grab the towel and tools for assistance. Wrap a cloth around the shower arm the pipe that attaches the shower head to the wall to protect it from damage as you grip onto it with slip-joint pliers. At that point, clamp the adjustable wrench around the head’s base and turn it off counterclockwise until it’s removed from the arm.
Step 5: Remove Excess Dirt
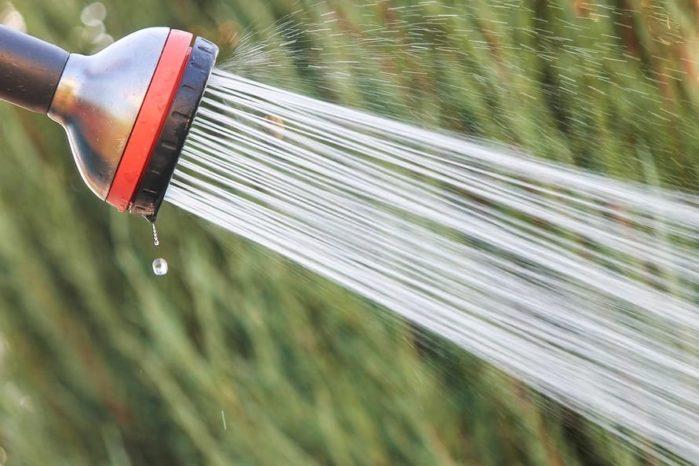
Shower heads
After removing the old shower head you may find dirt around the threaded pipe in the wall. Use a damp paper towel and wipe the threads clean and dry the threads.
Step 6: Apply Teflon Tape
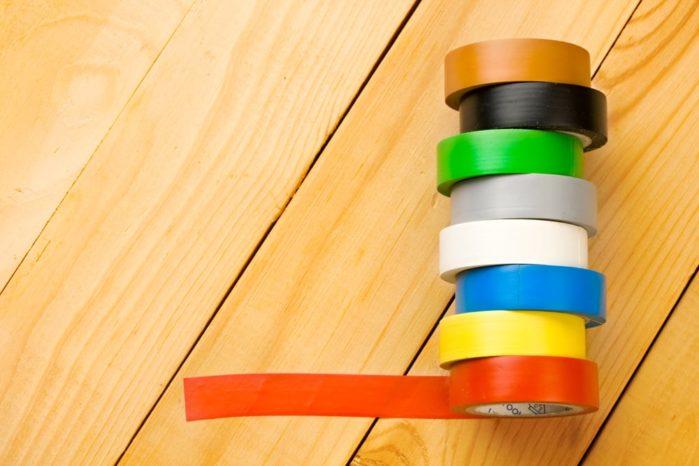
Teflon Tape
Apply around 2-3 turns of Teflon tape to the threads of the shower arm, wrapping the tape tightly in a clockwise direction and ensuring that it is embedding in the threads appropriately. Wrap the tape in a clockwise direction so when you screw on the new shower head, the sealing Teflon tape doesn’t come unraveled. Make sure to press the taping into the grooves of the threads.
Step 7: Attach the Diverter
With the Teflon tape applied, connect the diverter to the shower stem, and hand-tighten it. Carefully fix the connection using a wrench if necessary, however, maintain a strategic distance over-tightening this plumbing fixture. Making certain that the proper washer is installed in the neck of the fixed shower head, attach the head to one neck of the diverter and tighten it down.
Step 8: Attach the New Shower Head
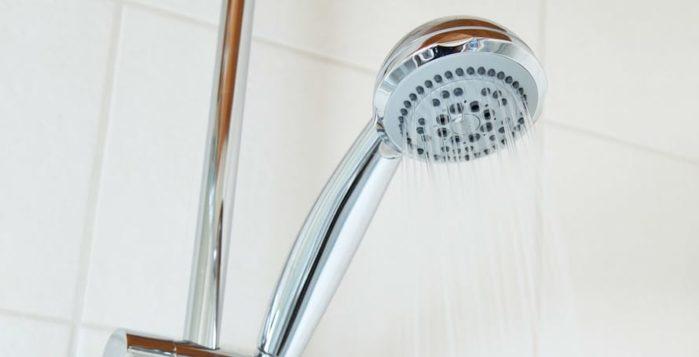
Water Heater is Too Hot
Now, it’s time to attach the new shower head. If you’re attaching a fixed-mount model, you should be able to screw it on by hand. Just place the new head on the shower arm and turn it clockwise until it’s safely in place. Make sure to follow any special instructions from the manufacturer.
If you’re installing a simple hand-held model, screw the mount from the new shower head kit as far as possible to the end of the arm clockwise, then connect the end of the shower hose to the mount. As usual, check to see if the manufacturer has extra guidelines.
Step 9: Turn the Water on Test the Flow and Check for Leaks
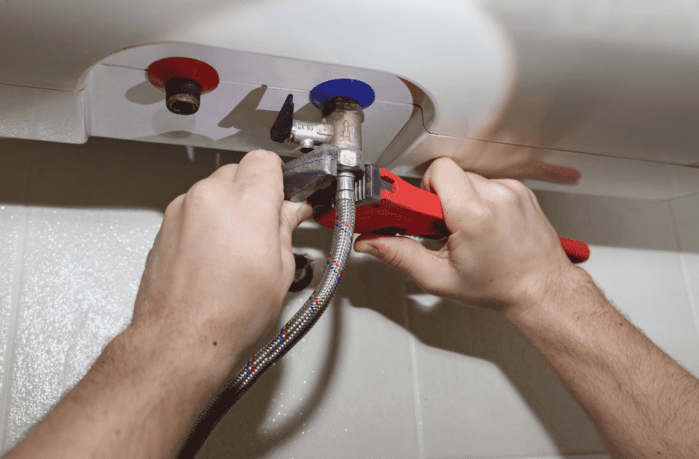
Water heater repair
After installing the new shower head, take a step back and turn the water on for a couple of minutes. If you see anything wrong like streams of water coming from the wrong parts of the hardware, turn off the water once more so that you can disassemble the head and secure it with more Teflon tape. At that point, tightly re-secure it to the arm.
Conclusion | Final Words & Thought
Now it’s clear to you how to replace a shower head easily. By following these simple steps you can easily replace your shower head in just a few minutes. It’s so easy that after you do it once, you may decide to replace all of the old shower heads in your home with new ones you can enjoy. It only takes for you to clean out your shower head or even better, replacing them once every 6- 8 months for having that splendidly refreshing shower that you want. Always ensure to clean out your shower head and check it’s efficiency once every 6 months at least. We hope you liked our guide listing the ways you can manage and replace your shower head.
