
Deck Stain Color Finishes | Deck Restoration Tips

Deck Restoration
Everybody loves to have a back deck for their home. It’s a place to relax and a place to spend time with family and host friends. But over time, that deck can really wear down and lose its shine, leaving the backyard looking “shabby” as opposed to a place that you’re proud to entertain friends and family in.
This is especially the case if you don’t put a lot of care and maintenance into it. Wooden decks need tender loving care and regular maintenance to stay in their best shape possible. Neglecting them leads to faster wear and more need to have them redone.
You can always hire a professional company to handle the project, but thankfully, if your deck is need of some restoration – it’s not all that hard to do. Restoring and reviving your deck can be accomplished in just a few simple steps. It shouldn’t take more than a weekend.
Inspecting the Deck and Assessing Its Condition

Wooden Walkout Deck In The Backyard Garden Of Blue Siding House.
The first thing you need to do to get your deck back in shape…is to see what kind of shape it’s in. Take a careful, methodical tour of the deck and inspect it closely – from the shape of the wood surface to the joints. Put some extra attention towards parts of the deck that are in direct contact with the ground – such posts, stair stringers and joists.
The “screwdriver test” can help you see if its time for new posts or joists; if the tip of the screwdriver goes deep into the wood when you press it, the wood is rotten and too soft, and needs to be replaced.
Now, go around and inspect for cosmetic damage. Drive back in any popped nails that you find, and take note of missing nails, screws or bolts that need to be replaced. Then look for splintering or shattered wood, both on the deck surface and on the railing. Nothing is worse than getting massive splinters in your foot or your hand; make not of any wood that needs to be sanded down or replaced.
Cleaning and Stripping the Deck – Deck Cleaning
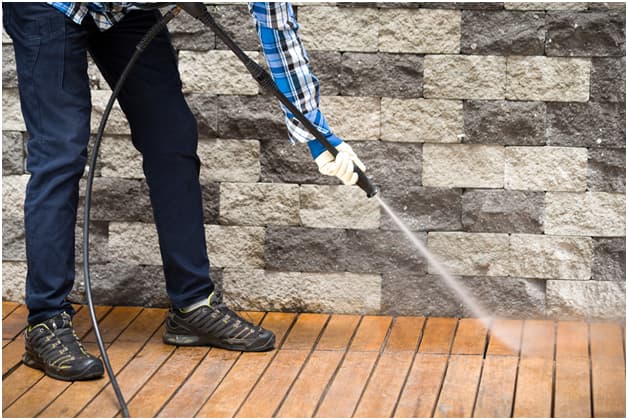
Deck Maintenance
Before you can go about re-staining/re-finishing the deck, you’ll need to clean it and prep the wood surface. (In fact, it’s recommended that your deck be cleaned every year – but if you haven’t kept up with this schedule, you’re not alone.)
Cleaning your deck starts with finding the right cleaner. There’s a bunch of fancy cleaners out there, but most of them use one of the 4 main ingredients – sodium hypochlorite, sodium percarbonate, oxalic acid and sodium hydroxide.
Sodium hypochlorite is good for removing mildew and mold but can be harsh and damage the wood underneath. Same with sodium percarbonate. Oxalic acid is gentler, and thus not good at removing mold or mildew; it’s at removing stains and certain dark shades and is thus often found in deck brighteners. Sodium hydroxide is also known as lye and is often used in deck brighteners; it’s harsher than oxalic acid and can damage wood if not properly washed off.
To clean and strip the wood, get yourself a large stiff bristle brush, some rubber gloves, and eye protection. It’s vital to be as careful and safe as possible when dealing with harsh chemicals.
Apply the cleaner to the wood generously and work it in. It may take some real elbow grease, but you should soon be stripping all that old gunk, mold and damaged outer wood away in just a few minutes.
If you need to tackle some real tough stains and mildew, you may opt to use a pressure washer. You can rent one from your local hardware store or Home Depot by the day.
Sanding and Prepping The Wood

Backyard Deck
Now that you’ve scrubbed away all the dirt, mold and mildew from your wooden deck, it’s time to get it ready for applying the new finish. That means sanding down any rough spots; if you stripped any splintering or chipping wood, rough, often sharp edges will be left in their wake. Sanding them down with some rough grit sandpaper (and an electric sander, for very rough areas) will leave things smooth, safe and ready for a new coat of finish.
Applying a New Finish + Stain To The Deck – Deck Stain
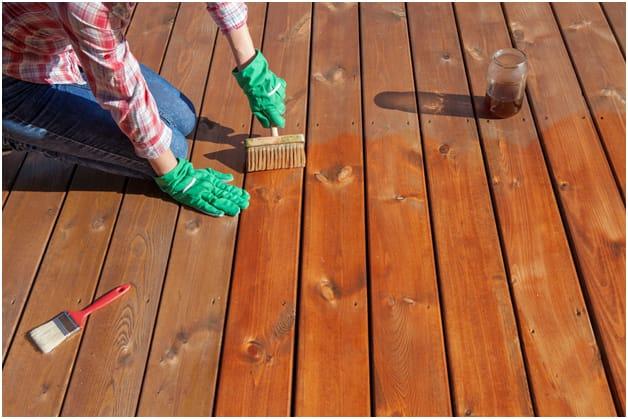
Deck
It’s time to apply that protective finish. If you’d really like, this is the time to apply a stain that darkens the color of the wood and really brings out that rich wood grain. Redwood is common, as is cedar. Mahogany, walnut and chestnut are all particularly rich looks, but are best used on older decks.
You’ll see deck finishes referred to as Transparent, Semi-Transparent, Semi Solid and Solid. Transparent finishes are best for new decks and unstained decks, as they allow the wood’s natural color and grain to come through naturally. Semi-Transparent finishes add more color while still allowing the natural texture to show, and are better for slightly older decks that could a little pick-me-up in the color department. Semi-Solid still allows the woods’ natural texture to show through, but masks aging more. Solid stains are best applied on old, aging wood that needs some help and when you’d rather hide its natural texture.
To apply the stain, you can use either a brush or a sprayer. A sprayer is much faster but applying with a paint roller will give you a little more control and allow you to apply a thicker coat the first time around. The most efficient method might be to spray a thick coat of finish onto the wood surface, and then use that brush or roller to spread it more evenly and help work the finish deep into the wood.
Be sure to use painter’s tape and cardboard where needed, in order to keep from making a mess and accidentally staining parts of the house, etc. And remember that when applying a second coat, it should be done before the first coat dries. Otherwise, it will not absorb into the wood properly.
YouTube Video – How to Restore Your Deck in a Day
Best Selling Deck Stain From Amazon
[amazon box=”B001AH3HXO,B06XGFSJVJ,B00MDVLOBS,B014GG7SNA,B018A1LJXC” template=”horizontal”]
