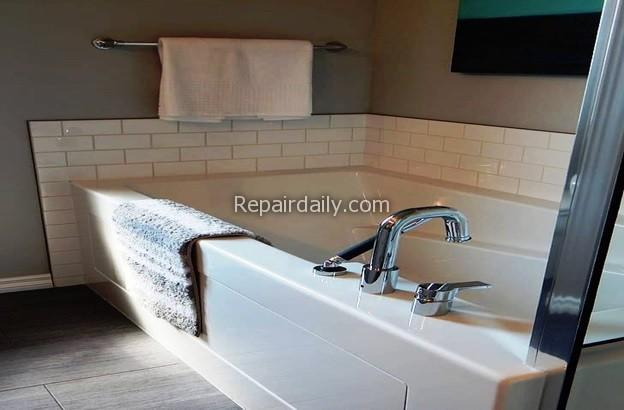
It’s a Monday morning and you don’t feel like going to work. Giving yourself a pep talk, you get out of bed and decide to take a shower. Looking longingly at the bathtub, you get into the shower and open the cold water tap. After a few minutes, you feel energized and you shut off the water. Grabbing the towel hanging on the rack, you get out of the shower stall and suddenly slip and fall hard on your ass. There’s water all around you and the mat couldn’t absorb it all. Wincing with pain, you get up and limp your way into the room. After putting on clothes, you stand at your bathroom door and try to figure out why you slipped. After a few minutes, you realize that the puddle of water is only around the shower stall. You think back and realize that the same thing happened last time as well after your bath but thankfully, you didn’t fall that time.
So, what do you think the problem here is? We will give you three choices:
- A broken bathtub or shower stall
- Gap between the shower surround panels or the bathtub and the wall
- Leaky faucet
The answer is “B”.
The old caulk surrounding your bathtub and the shower surround panels is deteriorating, which is creating gaps and allowing water to escape through them. A simple solution for this problem is to install bathtub caulk strips. But first, you need to remove the old caulk.

bath tub
How to Remove Old Caulk
To create a watertight seal with a tub caulk tape, you need to remove all traces of the old caulk.
- You have two choices here — you can use a caulk remover scraping tool to remove the caulk or a chemical caulk remover
- In the case of the latter, apply the chemical to the sides and wait for a couple of minutes. The chemical will soften the adhesive and loosen the caulk. You can then peel it off with your hands or use a putty knife to remove it.
- Once the caulk has been removed, wash the sides with soap water and bleach to remove any mold.
- Lastly, wipe the sides with rubbing alcohol.
If you see any green or black patches near the gaps of your bathtub or shower stall, then bleach the areas overnight to kill any bacterial pores before applying the caulk strip.
A Step-by-Step Guide on How to Fix Leaky Gaps in the Bathroom with Caulk Tape
Tools You Will Need
- A peel and stick caulk strip
- A scissor
- Gloves
Straighten Out the Caulk Tape
Since the tub caulk tape comes in a roll, you first need to straighten out the strip. Unwind the roll, layout the strip, and then place a heavy object on it. This will allow the strip to adhere properly.
Prep the Surface
Since the old caulk has already been removed, all you need to do is clean the sides with scouring powder. Wear gloves while doing this. Use a cloth to rub in the powder and then clean it with a water-soaked sponge. This will remove any dirt and the remaining caulk residue.
Remove Dirt
Use rubbing alcohol once again to clean the sides and prepare the area for the caulk strip. Do not apply the strip until the rubbing alcohol has dried.
Measure the Bathtub
Measure the sides of your bathtub, from edge to edge, with an inch tape. The trick to applying bathtub caulk strips is that you should measure all sides, top and bottom, individually. By continuing with the same strip from one corner to another, air bubbles might get stuck in the middle. Due to this, the caulk tape will not fully stick to the surface. As a result, the gaps will still be open to the water trying to escape.
Cut the Caulk Tape
Cut the caulk tape according to the measurements you took. One end of the tape should have a square corner, whereas the other end should have a mitered corner. This will allow you to join the tapes.
Fold the Caulk Tape
Single fold the caulk tape in length and press it hard. This way, when the strip will be applied, both sides will be at a 90° angle and will fit securely over the gap.
Start Applying
Peel off a small portion of the strip and apply it over the longest side of the bathtub, starting from the corner. Press in the strip and then slowly slide one hand over the strip as you remove the protection cover from underneath.
Let the Caulk Tape Settle
Now that the strip has been applied on all sides, press it in once more to make sure there are no air bubbles. Let the tape settle for 12 hours before using the bathtub.
Caulk tapes have a strong adhesive, so one thing you can be sure of is that they won’t start to peel back from the corners, even after coming in contact with water. Moreover, this tape also prevents mold and mildew from settling in the gaps.
Author Bio
Greg Amundson is the founder and creator of InstaTrim & have been working in the home construction industry for 30+ years and have always had a passion to make DIYers’ life easier by developing products like white peel and stick caulk, black caulk tape, grey PVC corner trim, etc.
