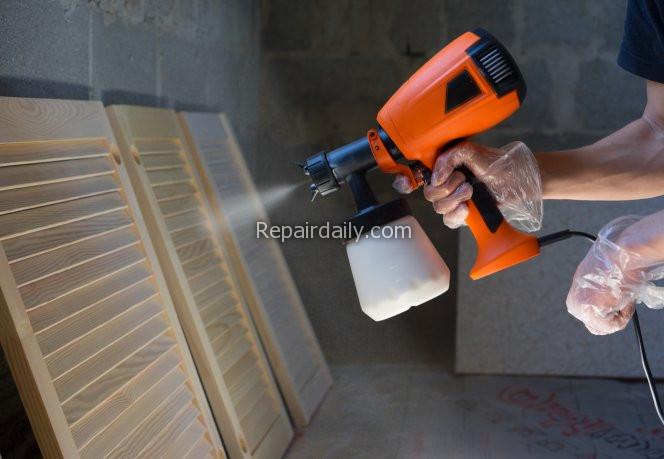

How to Stain a Deck with a Sprayer – shutterstock_714427963
If you are someone who likes to keep their wood nice and shiny, you might want to try spraying it with a paint sprayer. If you are installing a deck in your home or trying to paint the old one, then this article is for you. I will tell you all the essential steps that you should know before painting or staining your deck, so let’s get started already!
Tools that you may need
- Airless sprayer
- Paint or stain of your choice
- Spray tips
- Two empty buckets
- Stir sticks to mix the paint
- Paint strainer bag
- Plastic covering
- Masking tape
- Paintbrush for touch-ups
- Masking tape
- Spray shield
- Cleaning rags
- Pressure roller (totally optional)
Once you have all of them, you can start staining your deck. Read the procedure that I have mentioned below to know all about it.
Safety First
There are some precautions that you have to take before staining your deck. Make sure to wear protective gear like gloves, safety glasses, spray socks, hats, dust masks, suitable footwear, and respirators. There should be adequate ventilation at the location. If there are some electrical appliances near you, turn them off. Make sure to read the safety precautions manual of your sprayer for extra safety.
I have seen many people not taking safety precautions before spraying; please don’t be one of them and follow all of the safety measures that I have mentioned. I, for one, think that painting something is extremely relaxing so don’t think too much. Make sure you are following all the essential steps, and just do it!
Preparation before Spraying
Move all the extra furniture or other equipment to a safe place. Cover all of the plants or bushes that are around you. Cover the walls near the deck with plastic. Make sure that your deck is neat and clean. It is suggested to clean it and then dry it completely before staining it with a sprayer.
Staining the deck
The first step is to select the best spray tip. A tip with an 8-inch wide spray pattern and 0.13 hole size works best in most cases. If you are using different boxes of paints, mix them in a big container. This step will help the color to stay even and the same. Now, before you start spraying, make sure to choose the lowest pressure setting. The lowest pressure setting will give you complete control of the stain.
Start by spraying the railing and the legs of the deck. To stain the inside surfaces, you will need to hold the sprayer in a specific direction. You should always have a clean brush around you so that you can clean any access stain that you might have sprayed on. For the deck, I will highly suggest you work in sections. Follow the plans vertically. Your sprayer should be 12 inches away from your surface for the perfect finish. It would help if you sprayed the outer edges of the deck first. After that, spray the corners. Making repeated passes is also suggested. The most tricky business is to paint the inside surfaces. You will need to find the perfect angle to paint them. Once you know which angle works the best for the inside corners, staining them will be as easy as pie.
Cleaning up
Before doing any clean-ups, wait for the paint to dry. After the paint is dried, remove all the coverings from appliances, plants, bushes, or anything that you have covered. Now move back all the appliances. Put everything back at their place.
Now, thoroughly clean your sprayer. Follow the instructions manual. Make sure to clean your sprayer after every use. It will increase the life of your airless sprayer.
Wrapping it up
Staining a deck is an easy task, but it will require some practice. Make sure to cover everything up before spraying. If you have any questions, read this article again. I hope you enjoyed reading this informative article. Happy painting to you! Don’t worry; you will do a great job. Bye for now!!
