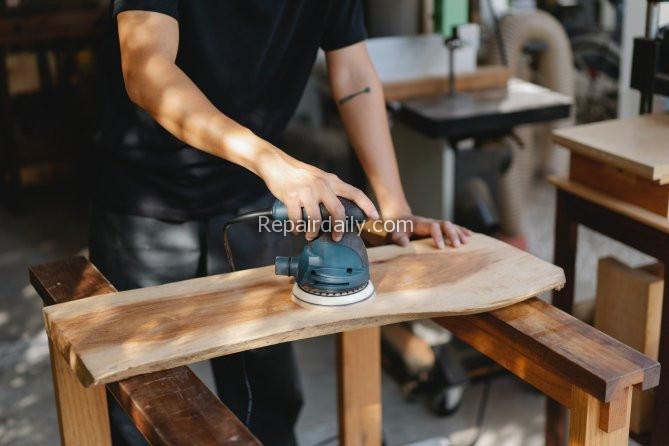

How do you sand hardwood floors yourself
Hardwood floors are definitely worth the investment because they prove to be less susceptible to problems like staining, entrapping allergens, and dust. If you are thinking of restoring your old wooden floors or putting in new ones, a guide to sand hardwood floors will come in handy. There is the satisfaction of working on home projects such as refinishing hardwood floors as well as cost savings instead of getting a professional. Without wasting any time, let’s get right into how you can sand hardwood floors and get that pristine, smooth finish that looks as good as the work of an expert all by yourself!
1. Decide the grit sequence
If you think all you need to do is sand once and the job is done, you’re gravely mistaken. As every floor is different, therefore, according to the condition of the floor, the grit sequence must be decided. If you have multiple coats of paint and a heavy adhesive on your wooden floor, it is best to start with a 12 grit, whereas a 16 grit is best used as a starting grit for single coated or shellac finishes. The 24 and 36 grit sandpaper can be used for floors that still have a finish and newly installed floors. The 60, 80, and 100 grit can be used as a final grit and are usually used to take out scratches from previous grits.
2. Sand the main areas
For best results, it is recommended to start with a drum sander. After you have decided on the grit sequence in step one, upon doing a thorough inspection of the condition of your flooring, sand, all the main areas with a drum sander using a starting grit, the most effective way of doing this are to sand everywhere the drum can reach in every room.
3. Use an Edger
Once you’re done using the drum sander, it’s time to address all the edges or nooks and crannies the drum sander couldn’t reach. Use the same grit of sandpaper as in the previous step. The edger will also sand out any marks from the drum sander. In case the edges have more finish left as compared to the main floor, switch to a coarser grit but try to be swift until most of the finish has been sanded over. Switch to the initial grit and keep sanding until the edges look identical to the main floor.
4. Clean the surface
It’s time for a clean-up. Sweep or vacuum all sanded surfaces thoroughly as the residue keeps on being driven into the floor by your sanders despite switching grits and can scratch the surface.
5. Switch to a finer grit
Now that your floors are clean, you will go over the main floors with a drum sander using finer grit sandpaper than the previous one.
6. Go over edges with a finer grit sandpaper
Just like you sanded the edges with the help of an edger in step 3, repeat the whole process using finer grit sandpaper chosen in the previous step.
7. Repeatedly sand with drum and edge sander until you’ve reached 100 grit
You probably would have gotten the hang of the steps by now. Keep on going through steps two till 4 with finer grit until you’re ready to use finished grit sandpaper. The 100grit sandpaper is ideal to end the sanding process with if you have maple flooring or want to stain it. The goal is to remove any traces of sanding with the finer grit step. Pay special attention to the edges for a professional end result.
8. Locate any edger swirls and remove them
Edger swirls are inevitable, no matter how skilled you are. Once you have finished with the final edger round, take out your flashlight and carefully look for any scratches caused by the edger; remove them by hand sanding with 80 grit sandpaper.
9. Buffer and clean
Use 120-100 grit sandpaper and put a uniform scratch pattern on the entire flooring, and then use a buffer to blend sand over to achieve a uniform and even-looking floor. Finish by vacuuming the entire floor thoroughly, followed by a wipe down with a dry microfiber cloth to remove all traces of dust.
I'm so excited to tackle all my home improvement projects! From plumbing to DIY and cleaning - I'm ready to get down to work! #homerepair #homecleaning #plumbing #diy #fixerupper #realestate #renovation #interiordesign #farmhouse #diy #homedecor #hgtv #home #farmhousedecor #modernfarmhouse #farmhousestyle #fixerupperstyle #fixandflip #homerenovation #realestateinvesting #beforeandafter #homesweethome #remodel #realestateinvestor #interior #realtor #joannagaines #flippinghouses #countryliving #design #homedesign #farmhouseinspired #investmentproperty #bhghome #renovationproject #farmhousekitchen #homeimprovement #farmhouseliving #cottagestyle #decor #realestateagent #magnoliahome #homeinspo #magnoliamarket #kitchendesign #dreamhome #shiplap #construction #houseflipping #investor #farmhousedesign #architecture #farmhousechic #homereno #rusticdecor #reno #kitchenremodel #webuyhouses #magnoliatable #rentalproperty #fixerupperinspired #newhome #interiors #homeremodel
