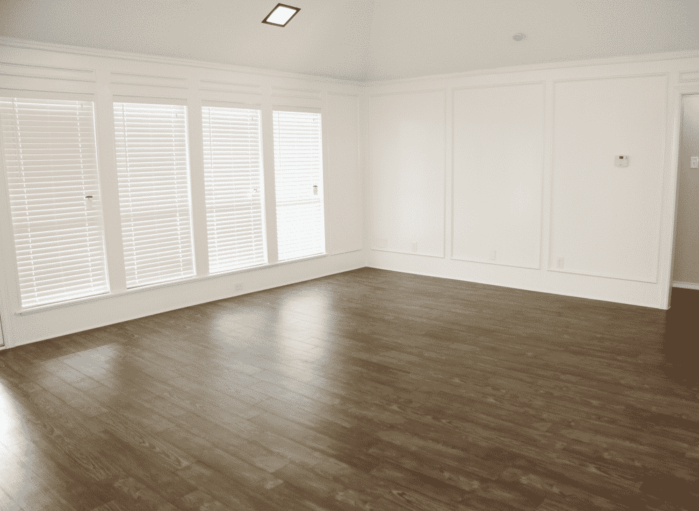

Vinyl Plank Flooring
Is your floor in need of an update? You don’t have to a fixer-upper pro to refresh your home. Get a new look on a budget by using stick on vinyl tiles.
Stick on tiles are a DIY-ers delight as you can install them yourself and repair them if needed over time. Some brands only require a stanley knife for installation so you won’t even have to raid the garage or borrow a bunch of tools to get the job done!
Vinyl tiles can be stuck to any flat surface. Today they’re available in quite a variety of colours and designs so you’ll be able to find something that suits your design sensibilities. The latest printing and finishes have dramatically improved over the last few years so you may not even realise that what you’re seeing on the floor is a peel and stick product.
One of the other things we love about peel and stick products is that they can be applied to other areas of the home. Why not use them as wall coverings or stick them onto benches, countertops, shelving and ceilings–anywhere you want to add some texture and protect the surface below.
Let’s get started!
How do I install peel and stick tiles?
- Before planning where you’ll stick tile, you’ll need a little planning and your trusty tape measure to determine how large your space is and how many tiles you will need. Double check that measurement so you’re not caught short or with far too much excess product.
- When preparing a floor for peel and stick installation, you’ll want to clear and clean the area first. Clear any old floor covering such as carpet, old vinyl or lino and inspect that the subfloor is in decent condition. Plug any holes and cover any nails. Now you’re ready to clean! Vacuum away dirt and dust them give them a good mop. Remember to allow time for the floor to dry before trying to stick the tiles on.
- Once you have your configuration and pattern sorted, start from the centre line to ensure a straight and symmetrical installation. Staggering the rows will look best to mix up the short edge seams. To help you with this, you may wish to do a dry lay to see how the planks will fit and if any need to be trimmed to size.
- Once you’re ready to stick, peel the backing off a tile and put it in place. Rub it firmly in place and apply pressure to ensure good adhesion transfer. Once all of your tiles are in place, roll the complete floor to make sure they’re stuck on good and tight. Allow 24 hours for the adhesive to set before walking on them
Vinyl tiles are a great way to get a new floor without spending a lot of money. So the next time you’re considering doing some home repairs or redecorating on a budget, consider using stick on vinyl tiles! You’ll be amazed at the difference they make to your home and wallet.
