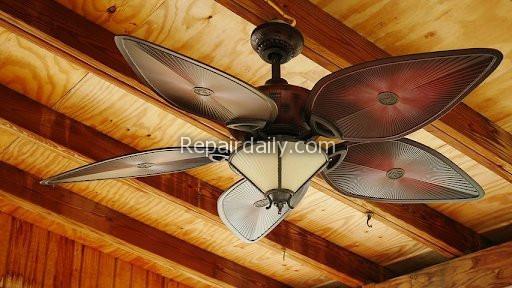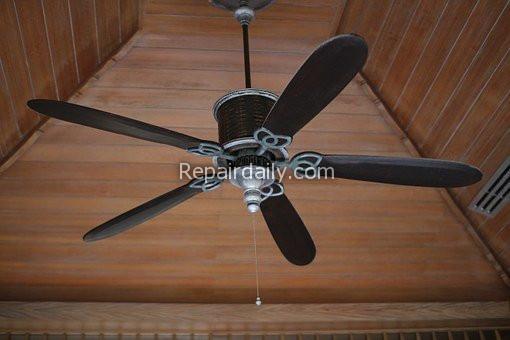

design ceiling fan
A ceiling fan can really make a huge difference to how your home feels in the summer and even in the winter, too, since you can reverse the direction of the blades to push warm air down from the ceiling and back into the room. If you don’t have a ceiling fan, installing one is a pretty straightforward DIY job, as long as you have the wiring in place already (and if you don’t have the wiring in place, you can hire an electrician to run it to the middle of the ceiling for you). Here’s how to install a ceiling fan yourself.
Choose the Right Fan
Before you start taking apart your ceiling light fixture, you need to make sure you’ve got the right size fan for your space. The new fan needs to be positioned in the middle of the ceiling, a foot and a half from the walls, and at least seven feet from the floor (although eight to nine feet is ideal).
You also need to buy the right size ceiling fan for your space. Fans are measured across the width of the blades, from the tip of one blade across the center to the tip of the corresponding blade. They come as small as 29 inches or as large as 60 inches or more. To size a fan for your space, measure the longest wall in your room. If it’s shorter than 12 feet, choose a fan 46 inches or less. If it’s 12 to 18 feet, choose a 48- to 56-inch fan. If it’s longer than 18 feet, you need a fan larger than 56 inches.
Remove the Current Fixture
If you already have a light fixture in your room, you can remove it and install the fan in its place, using the same wiring. Make sure to cut off the power at the circuit breaker. You should also turn off the light switch in the room, just to be safe. Remove the glass globe and unscrew the nuts or screws that hold the fixture to the ceiling. Lower it, remove the wire nuts from the wiring, and untwist the wires.
Swap Out the Electrical Box
Ceiling fans are much heavier than light fixtures, so you’re going to need to remove the electrical box from the ceiling and replace it with a fan-rated, half-inch-thick pancake box. This box should be screwed directly to a joist, or to a ceiling fan brace that is anchored to the joists.
If you need to install a ceiling fan brace, you can either go up in the attic and screw a two-by-four in between the joists above the hole in your ceiling, or you can buy an expanding metal brace that can be inserted from below through the hold in the ceiling. You can buy metal braces that dig into the joist on either side when expanded, or you can get ones that have to be screwed to the joists on either side. If your light fixture was close to, but not right under, a joist, you can cut another hole under the joist and just move your ceiling fan over a bit.
Add a Ceiling Medallion
If you’ve had to move your ceiling fan to anchor it to a joist, you can attach a ceiling medallion to cover the old hole where the light fixture was. Apply some urethane-based adhesive to the ceiling medallion, pass the wires through the center of it, and then glue the medallion to the ceiling, centering it on the hole. Anchor the ceiling medallion to the joist using four 6d finishing nails and cover the nail heads with spackle.

black ceiling fan
Mount the Ceiling Plate
Hold the ceiling plate that comes with the fan up to the pancake box and pass the wires through it. Then attach it to the pancake box with two one-and-a-half-inch 10-32 machine screws.
Assemble the Fan Motor
Follow the assembly instructions that came with your fan to assemble the fan motor on the floor. In general, you’ll feed the wires coming out of the top of the motor through the canopy, then through the downrod. The downrod pipe should thread into the motor housing and there should be a locking nut you can tighten to hold it in place. Do not remove the factory-applied coating from the downrod threads.
Hook Up the Wiring
There should be a hook on the ceiling plate so you can hang the fan motor while you connect the wiring. Connect the white wire coming out of your ceiling to the white wire coming out of your fan motor, the black wire from your ceiling to the black wire from your fan, and the green or bare ground wire from your ceiling to the green or bare ground wire from your fan. Twist the bare ends of the wire together and use wire nuts to hold them in place. Once you have the wiring connected, swing the motor up into position against the ceiling plate and screw it down.
Attach the Fan Blades and Wire Up the Light Fixture
Attach each blade iron to each fan blade and then attach each blade to the fan motor. Your new ceiling fan’s light fixture might plug into the motor housing, or you might have to connect the wires with wire nuts. Connect them the same way you did the motor wiring -- black to black, white to white, and green or bare to green or bare. Install the light bulbs and shade, restore power, and try out your new fan!
I'm so excited to tackle all my home improvement projects! From plumbing to DIY and cleaning - I'm ready to get down to work! #homerepair #homecleaning #plumbing #diy #fixerupper #realestate #renovation #interiordesign #farmhouse #diy #homedecor #hgtv #home #farmhousedecor #modernfarmhouse #farmhousestyle #fixerupperstyle #fixandflip #homerenovation #realestateinvesting #beforeandafter #homesweethome #remodel #realestateinvestor #interior #realtor #joannagaines #flippinghouses #countryliving #design #homedesign #farmhouseinspired #investmentproperty #bhghome #renovationproject #farmhousekitchen #homeimprovement #farmhouseliving #cottagestyle #decor #realestateagent #magnoliahome #homeinspo #magnoliamarket #kitchendesign #dreamhome #shiplap #construction #houseflipping #investor #farmhousedesign #architecture #farmhousechic #homereno #rusticdecor #reno #kitchenremodel #webuyhouses #magnoliatable #rentalproperty #fixerupperinspired #newhome #interiors #homeremodel
