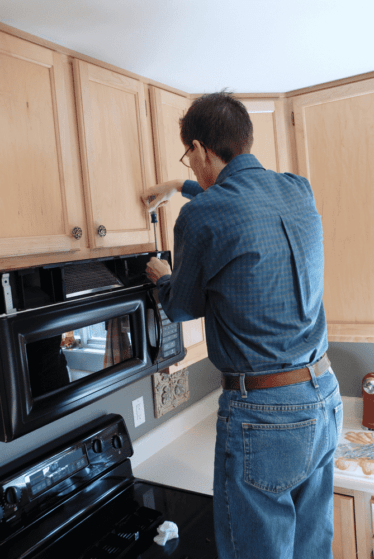
Do you have an over-the-range microwave which you wish to remove on your next kitchen renovation? It’s true that this deed seems complicated and challenging, but with a helping hand and a few tips, this can be easily done.
We highly recommend that you enlist a helper when doing this task as the microwave can get a bit heavy. You may also want to take a look at the steps that we have compiled for an easy way on how to remove over-the-range microwave.
What You Will Need
- Pencil
- Carpenter’s Level
- Drill
- Screwdriver Bits
- Drill Bit Set
- Toggle Anchors
The Steps on How to Remove Over-The-Range Microwave
To ensure that the entire process will be convenient, safe, and efficient, here are some of the steps that you should take:
Step 1: Disconnect the electrical wires of the microwave from the electric circuit.
First things first, turn off the microwave. To ensure that no electricity will run through its wires, you should turn it off at the circuit breaker box too.
Using a Phillips screwdriver, loosen the junction box’s screws and open it. Disconnect the electrical wires that connect the microwave to the electrical circuit.

Pro Tip: It is best that you remove the range away from the wall, so you have plenty of room to move around.
Step 2: Unscrew the microwave.
Using a drill and screwdriver bit, remove the screws that are securing the microwave to the bottom of the cabinet. Ask someone to hold the microwave as you unscrew it to prevent unwanted accidents.
Slightly lift the microwave to remove it from its mounting bracket. Afterward, remove the old microwave out of the way. If your goal is just to have your microwave repaired, you can stop right here.

Afterward, use the drill and screwdriver bit again to remove the existing mounting bracket to loosen its screws. Set it aside.
If you plan on replacing the microwave, you can proceed with the next step. But if you just wish to remove the over-the-range microwave, the process ends here.
Step 3: Create the template for the bracket of the new microwave.
Place the mounting template of your new microwave’ bracket against the wall. Using a pencil, mark the position of the holes that you have to drill. Remove the mounting template and proceed with drilling the hole.
Make sure that at least one bracket side is screwed to a stud. If you have missed any studs, then you need to use the toggle anchor to mount the bracket.
Step 4. Screw the bracket.
Place the mounting bracket against the wall, following the marks that you have created. Using the carpenter’s level, check the level of the bracket and ensure that it is in the right position. If it already is, you can proceed with securing it to the wall using a drill, mounting hardware, and screwdriver bit.
Step 5. Place the microwave on top of the bracket.
With the help of your assistant, lift and put the microwave in place. Insert the microwave’s electrical wires through the cabinet as you do so. Ask your helper to hold it in place while you screw the microwave at the bottom part of the cabinet.
Step 6. Connect the electrical wires of the microwave to the circuit.
Make the connections and place wire nuts over the splices. Put the electrical wires in the box then close it by tightening its screws. Turn on the power supply. Program and use the microwave as per the instructions provided by the manufacturer.
For more tips on how to install over-the-range microwave, please watch this video:
Conclusion
Installing a microwave over the range is the easiest and most stylish solution to saving space in your kitchen. But of course, this comes with a few disadvantages. If you plan to replace, remove or have your microwave repaired, you cannot just easily pick it up. You would have to uninstall it and remove its brackets.
But while the process on how to remove over-the-range microwave can be a bit time consuming, it can be safely and efficiently done especially with a helper (and by following the steps that we have mentioned!).
Reference Links:
- https://homeguides.sfgate.com/remove-install-microwave-above-range-26179.html
- https://www.ehow.com/how_7545754_remove-whirlpool-microwave-above-stove.html
- https://www.hunker.com/13407985/how-to-uninstall-an-over-the-range-microwave
I'm so excited to tackle all my home improvement projects! From plumbing to DIY and cleaning - I'm ready to get down to work! #homerepair #homecleaning #plumbing #diy #fixerupper #realestate #renovation #interiordesign #farmhouse #diy #homedecor #hgtv #home #farmhousedecor #modernfarmhouse #farmhousestyle #fixerupperstyle #fixandflip #homerenovation #realestateinvesting #beforeandafter #homesweethome #remodel #realestateinvestor #interior #realtor #joannagaines #flippinghouses #countryliving #design #homedesign #farmhouseinspired #investmentproperty #bhghome #renovationproject #farmhousekitchen #homeimprovement #farmhouseliving #cottagestyle #decor #realestateagent #magnoliahome #homeinspo #magnoliamarket #kitchendesign #dreamhome #shiplap #construction #houseflipping #investor #farmhousedesign #architecture #farmhousechic #homereno #rusticdecor #reno #kitchenremodel #webuyhouses #magnoliatable #rentalproperty #fixerupperinspired #newhome #interiors #homeremodel

