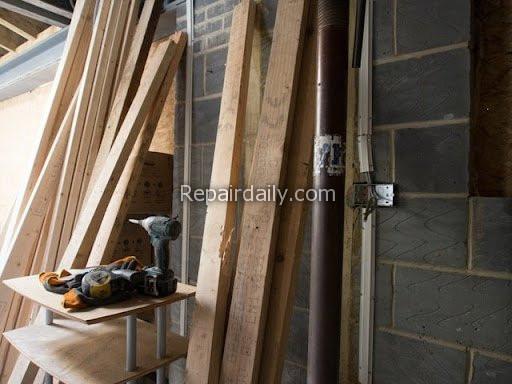

The stairs in your home will be in a prominent position and you don’t want them to attract the wrong sort of attention by looking unsightly with nail holes showing.
You can install some attractive wood stair treads without worrying about this issue. All it takes to achieve this aim would be to have something like a tube of Pink Grip 350ml in your hand and some tips in your mind that will help to get the job done.
No need for nails
The good news is that modern technology has made it easy to install wood stair treads without the need to use any drills or nails.
The other point to make is that nails are not exactly the most efficient way of securing the stair treads in place anyway. This is because the staircase can have a tendency to move with regular use and that can cause nails to work loose.
Once these have worked their way loose you now have the dual problem of a staircase finish that begins to look unsightly, plus you will have created a potential safety hazard at the same time.
The right tools for the job
The secret to any DIY job is often in the preparation, and the need to have the right tools and materials.
What you will need to install your stair treads is a good measuring tape, a miter saw, and some suitable stain. In addition, you will need a good quality glue and a rubber mallet.
Take time to read the manufacturer’s instructions on how to use the glue and make a note of how long they suggest you should leave it to cure before using the stairs.
Put the treads in place
It would be a good idea to set the treads that you have cut into place so that you can check they fit properly before installing them.
Leave each tread on its respective step in preparation for fixing them in place. That way you know which one is going on each step and it will make installation quicker and easier.
Applying the glue
Start by squeezing a bead of the glue along each of the stringers that the step will be resting on.
Next, squeeze a secondary bead of the glue along the length of the back of the tread. This is the side that will be pushed up tight against the riser.
Once the stair tread is in place you can gently tap the front edge with your rubber mallet. This will allow you to form a bond between the glue and the riser.
The next step should be to tap all along the top of the tread at the stringers so that it also forms a bond at this point too.
Finally, leave the glue to cure for the period of time stipulated in the manufacturer’s instructions.
Once you have followed these steps you should have some beautifully installed wood stair treads that will stay in place, and there won’t be an unsightly nail to be seen anywhere.
I'm so excited to tackle all my home improvement projects! From plumbing to DIY and cleaning - I'm ready to get down to work! #homerepair #homecleaning #plumbing #diy #fixerupper #realestate #renovation #interiordesign #farmhouse #diy #homedecor #hgtv #home #farmhousedecor #modernfarmhouse #farmhousestyle #fixerupperstyle #fixandflip #homerenovation #realestateinvesting #beforeandafter #homesweethome #remodel #realestateinvestor #interior #realtor #joannagaines #flippinghouses #countryliving #design #homedesign #farmhouseinspired #investmentproperty #bhghome #renovationproject #farmhousekitchen #homeimprovement #farmhouseliving #cottagestyle #decor #realestateagent #magnoliahome #homeinspo #magnoliamarket #kitchendesign #dreamhome #shiplap #construction #houseflipping #investor #farmhousedesign #architecture #farmhousechic #homereno #rusticdecor #reno #kitchenremodel #webuyhouses #magnoliatable #rentalproperty #fixerupperinspired #newhome #interiors #homeremodel
