How To Cleanup DIY Water Damage

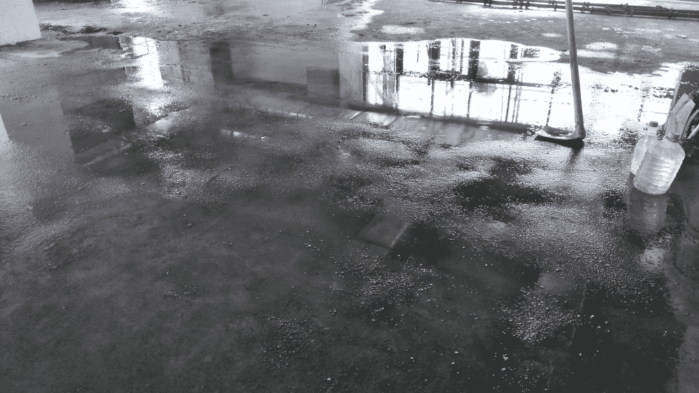
Water curing of floor
When water damage happens it can have a devastating effect. The truth is that you may not be able to mitigate all of the damage from a sudden burst pipe or a leak in the roof that allows a significant amount of water in but there are some DIY ways to minimize the damage.
If you’re suddenly in a place where water damage needs to be corrected there’s no need to panic. Read on and we’ll show you some great tips for water damage cleanup.
1. Find the Source

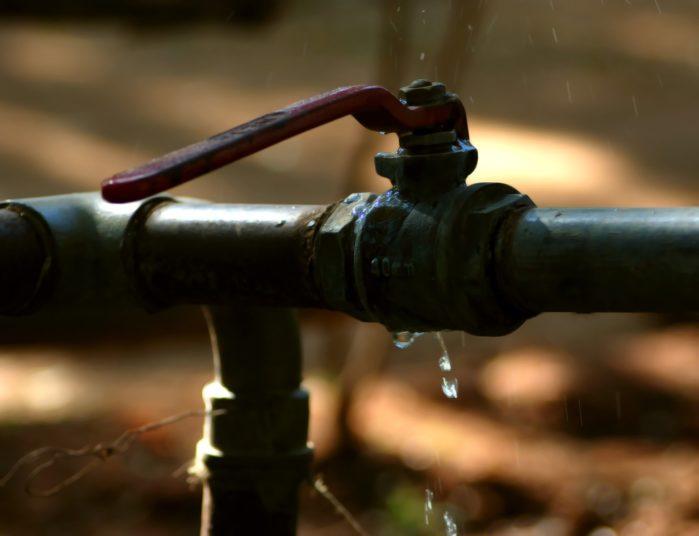
leak
You need to find the source of the water coming in before you even begin to repair the damage.
A burst pipe in the walls? It’s time to shut off the water main until you can patch things up and get some repairs done.
Leaking roof in the rain? Slam a patch down with an impact wrench until you can get ahold of a roofer to properly repair the whole thing.
Whatever is causing the flooding or leak needs to be stopped before any other efforts can be undertaken. Usually, a patch or shutting off the main until you can get a professional on board for the repair is enough.
Once that’s done, you’ll have to handle the water damage itself.
2. Start By Drying Things Out
Depending on the scale of the damage you may need anything from a couple of towels to a wet/dry shop vacuum to get the water up. The important thing is to do it as quickly as possible so that you won’t have to worry about the damage caused by moisture.
It’s doubly important with timber materials and hardwood flooring, where the swelling can cause serious damage and trapped water can lead to further problems. If the water doesn’t have a chance to soak in before you get to it you’ll be much better off.
The immediate leak isn’t the only problem, however.
3. Prevent Further Damage

plumbing
You can prevent further damage from occurring by setting up a way to reduce moisture.
If it’s from a small leak and the weather permits you may be able to get away with a couple of fans to circulate the air through the room and open windows.
In more extensive cases you may need to buy or rent a dehumidifier and keep it running for a couple of days.
It only takes a couple of days for mold and mildew to set in and once they’re present you may be in trouble. If it was a minor leak in the wall or under the subfloor the damage may be more extensive than you think.
Spend some time figuring out how long the leak has been going on. Sudden leaks are unlikely to pop up from a structurally sound pipe, for instance, and that could mean weeks or months of a slow leak in a hidden place.
A quick wipe with bleach on any exposed areas can prevent further damage from microfauna or fungus but you’ll also need to assess the damage as a whole before you can call it good.
4. Remove Damaged Materials

plumbing materials
Some materials will be irreparably damaged by moisture. One of the biggest culprits is drywall, once it’s become waterlogged it loses its structural integrity and you’ll have to remove the damaged section.
Any wood should also be checked for signs of wet rot. It doesn’t take a ton of moisture for fungus to get into the wood and begin to erode it so you’ll also want to remove any visibly infected pieces of timber. If they’re structural, such as supports in a load-bearing wall, then call a professional instead of attempting the job yourself.
Drywall is pretty easy to cut out, just remove a square section with a keyhole saw and measure how much you’ll need to replace it. Even the DIY challenged should be able to patch it easily enough: just add mud around the exterior.
Timber poses a larger problem, but it’s best to always remove wood which is infected and an inch or two on either side since many times the mycelium in the wood spreads farther than the visible damage.
5. Disinfect Exposed Material
You’ll want to give any material that’s been removed a close look and apply some sort of disinfectant to it. A 1:4 bleach to water mixture is ideal for killing off fungus and bacteria that cause mold and rot.
For materials other than drywall you’ll want to disinfect around the area you removed damaged pieces. It may be unnecessary in some cases but it’s generally better to be safe than sorry in these situations.

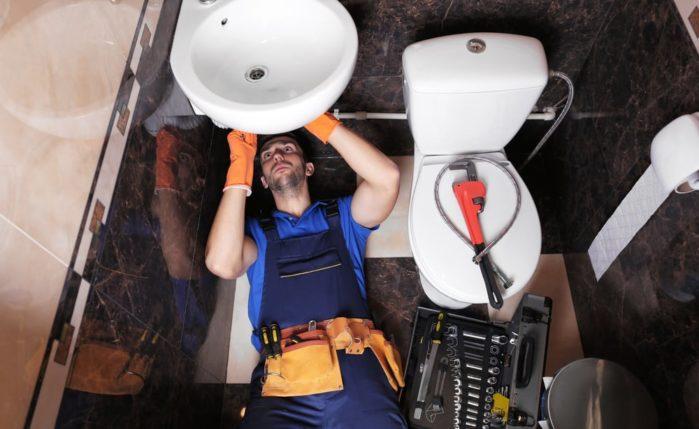
Do You Need a Professional Plumber or A Toilet Repair Kit
6. Make the Final Repairs
Once the damage has been mitigated, infected material removed, and the initial problem permanently fixed you’ll be able to make the final repairs. This includes repainting walls, laying down new boards on floors, and generally handling the cosmetic issues that occurred.
Whether or not you’ll want to use a professional for this final step depends on the extent of the damage and your own skills. Don’t be scared to call up a restoration company, however, especially if you’ve already done the bulk of the work.
At this point, it’s just a matter of putting things back together. Ideally, the problem which caused the damage in the first place is permanently fixed as well, or you may be in for another round of water damage cleanup.
Don’t Panic, Just Get Fixing!
Water damage restoration can seem overwhelming, but there are a number of DIY fixes that nearly any home handyman can take care of. It’s not just a job for the professionals, particularly if you caught it early.
So, there’s no need to panic. Calm down, assess the damage, and get to work! You might just save yourself a boatload of money.
Watch This Video To Learn More About Water Damage Cleanup
I'm so excited to tackle all my home improvement projects! From plumbing to DIY and cleaning - I'm ready to get down to work! #homerepair #homecleaning #plumbing #diy #fixerupper #realestate #renovation #interiordesign #farmhouse #diy #homedecor #hgtv #home #farmhousedecor #modernfarmhouse #farmhousestyle #fixerupperstyle #fixandflip #homerenovation #realestateinvesting #beforeandafter #homesweethome #remodel #realestateinvestor #interior #realtor #joannagaines #flippinghouses #countryliving #design #homedesign #farmhouseinspired #investmentproperty #bhghome #renovationproject #farmhousekitchen #homeimprovement #farmhouseliving #cottagestyle #decor #realestateagent #magnoliahome #homeinspo #magnoliamarket #kitchendesign #dreamhome #shiplap #construction #houseflipping #investor #farmhousedesign #architecture #farmhousechic #homereno #rusticdecor #reno #kitchenremodel #webuyhouses #magnoliatable #rentalproperty #fixerupperinspired #newhome #interiors #homeremodel

Comments are closed.